I know I have been absent for a little while now. I have been longing for the days for when my little Pixie was still a newborn and took naps all day long. Sigh. Now I spend my days cleaning up the hurricane debris from where my little one has wreaked havoc. He is starting to take some steps on his own and has discovered the toilet paper in the main floor bathroom. He can catch up to the cats now and my dish towel drawer will never be the same.
This past weekend we celebrated his first birthday a little early with our family and friends in Raleigh. My parents even drove 6 hours from Tennessee so they could see him eat his first bite of cake. While he had his own little cake to smash and rub all over his face, I made a cake for the adults to enjoy.
I found this card on Pinterest and decided that it would make an adorable cake.
I tinted the fondant a little brighter, but I think the cake came out pretty well.
I still need practice with my fondant but I am slowly getting better covering the cake. Of course, the best part was the inside with the homemade buttercream frosting and cookie dough crumbles.
Now pardon me while I reminisce over some baby pictures.
Monday, August 20, 2012
Monday, July 16, 2012
Chocolate Truffle Cookies
These cookies have a little kick to them. The main recipe calls for cherry brandy. But the recipe also suggests other flavors like Amaretto (which I have) or Cointreau (which I have never heard of in my life). And then of course if you are making these for the kiddies, you can use orange juice.
What you will need
1/2 cup of all purpose flour
1/4 cup of unsweetened cocoa flour
1/2 teaspoon of baking soda
1/2 cup of caster sugar
2 tablespoons of cold butter
1 egg, beaten
1 teaspoon of cherry brandy
confectioner or powdered sugar
This recipe only makes about 12 cookies but it can easily be doubled for more.
Place the flour, cocoa powder, and baking soda in a bowl and sift together. Add the sugar and mix well.
Now take the cold butter and cut it up into small chunks. Remember, the butter needs to stay cold so leave it in the fridge until needed.
Throw the butter in the flour mixture and crumble it up with your hands. You flour mix should look like cornmeal when done.
Mix the egg and brandy together in a small bowl and add it to the flour mixture.
It may not seem like enough liquid, but keep on mixing. The dough will start forming and it will be thick.
Cover the dough and throw it in the fridge for 30 minutes. While you are waiting, place about 1/2 cup of powdered sugar in a bowl and set it aside.
Once the time is up, roll the dough into small balls and roll them in the powdered sugar. Make sure the powdered sugar is thick. You won't get the crackled effect if the sugar is lightly applied.
Place the cookies on a cookie sheet lined with parchment and bake for 10 minutes at 400 degrees. Let the cookies cool on a rack when done and then place in an airtight container.
Oh and don't operate any heavy machinery after consuming a few of these.
Chocolate Truffle Cookies - Print Recipe
Friday, June 22, 2012
Sugar Peony
I have had this tutorial and these metal cutters on my mind for a while now.
I got the cutters at Global Sugar Art a few months ago. I just checked their site and they don't seem to have the same exact set. But they have quite a few to choose from.
gumpaste
-I bought the pre-made gumpaste at Michaels with my 20% off coupon, thank you very much.
food color if needed
foam pads
ball tool
flower petal cutters
cornstarch
small rolling pin
water or gum glue
small styrofoam ball
metal wire
I basically followed the tutorial mentioned above but just improvised here and there. First thing you have to do to your gumpaste is roll it out as thin as you can possible get it. The cornstarch helps here so the paste doesn't stick to everything.
I used the smallest cutter and cut about 8 petals out. Use the ball tool around the edges to make them all "crinkly".
Now start layering them around the styrofoam ball making sure they overlap each other. This is where your water or gum glue comes in handy. It helps the petals stick to the styrofoam and each other.
Then cut out 5-6 petals of the next flower size. Continue to layer. Go up to the next size and cut another 5-6 petals. Remember to make them all ruffly there with the tool.
You will soon start to see your flower emerge.
If you have to take a break, make sure to hang your flower upside down. The gumpaste is still too soft at this point to keep it upright and soon your petals will start to wilt.
Use the largest cutter and make 8-10 petals for the final stage. Once the petals are attached, let the flower dry upside down for a few hours.
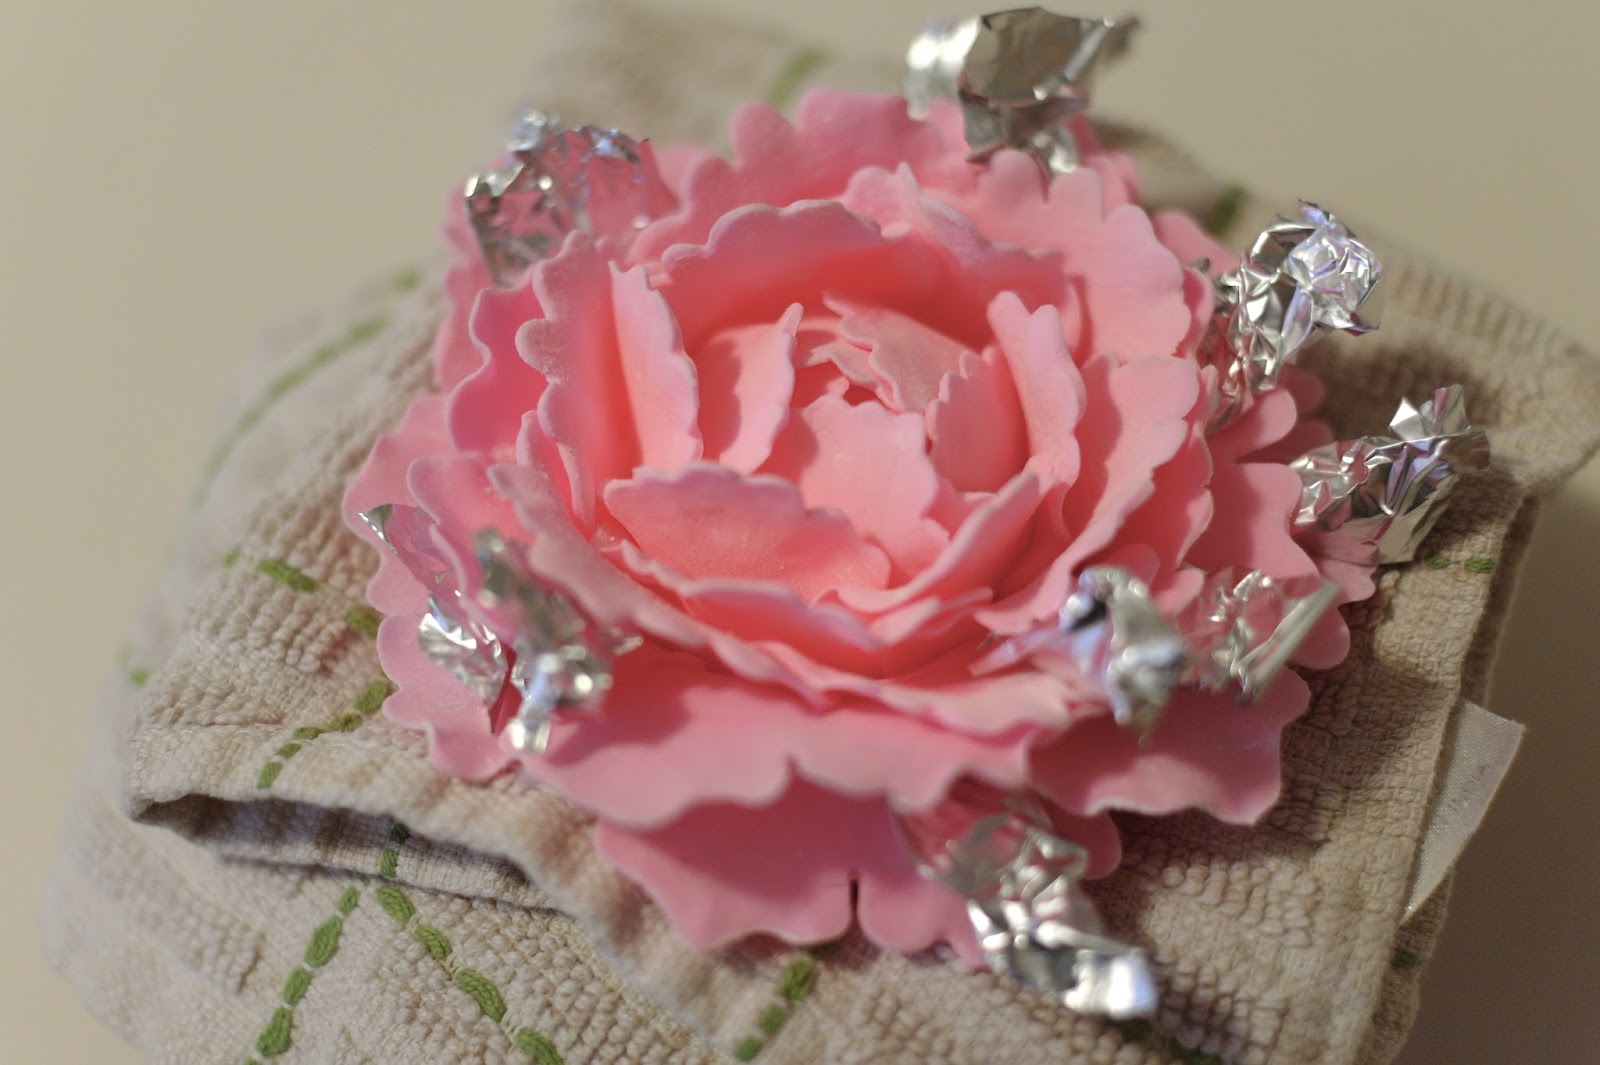
Carefully turn over and place the flower in a safe spot. At this point, you can tweak the flowers petals to make the bloom fuller. I placed a small piece of tinfoil in between the petals.
Let the flower dry overnight and the next if needed. The flower can be very thick and heavy so drying will take a while.
Now I just need to find a cake to attach this pretty thing to.
Friday, June 15, 2012
Coffee Cookies
I am slowly stocking my pantry back with baking supplies. I had to get rid of so much on our move up here. One of the neat little things I picked up today with this mini container of instant coffee granules.
It's neat because we didn't have them in Florida and we are not a coffee drinking family. So it was kind of waste of money to buy a huge container when it was just going to sit in the cabinet.
I found this recipe in a book I have had for years but I tweaked it a bit from the original.
Here is what you need
2 teaspoons of instant coffee powder
2 teaspoons of boiling water
2 sticks of unsalted butter, softened
1/4 cup of caster (superfine) sugar
1 1/4 cups of all purpose flour
1/2 cup of cornstarch
2 tablespoons of unsweetened cocoa
Mix the coffee granules and hot water in a cup and set aside until needed.
Once the coffee is mixed in, dump the flour mixture in and stir slowly. You can pick up some speed after a minute. You just don't want flour flying everywhere. The mix should look like chocolate ice cream when done.
Now the original recipe says to put the cookie dough into a piping bag fitted with a plain tip and pipe out swirls. Now I may have the temper of the Incredible Hulk, but I do not have his strength. I think even the big green guy would have difficulty piping out this thick dough. I was fine not having swirly piped cookies and decided to scoop them out instead. I just used a small portion scoop to divide out the dough.
Bake at 375 degrees for 10-12 minutes. And try to ignore the banging in the room.
Let them cool on the pan for a few minutes before you transfer to a cooling rack. Once the cookies are cool, if you like, melt some chocolate and decorate the tops. Throw in the fridge for a few minutes for the chocolate to harden.
I have a feeling these will be really good with some vanilla ice cream tonight. Have a great weekend!
Coffee Cookies - Print Recipe
It's neat because we didn't have them in Florida and we are not a coffee drinking family. So it was kind of waste of money to buy a huge container when it was just going to sit in the cabinet.
I found this recipe in a book I have had for years but I tweaked it a bit from the original.
Here is what you need
2 teaspoons of instant coffee powder
2 teaspoons of boiling water
2 sticks of unsalted butter, softened
1/4 cup of caster (superfine) sugar
1 1/4 cups of all purpose flour
1/2 cup of cornstarch
2 tablespoons of unsweetened cocoa
Mix the coffee granules and hot water in a cup and set aside until needed.
Mix the flour, cornstarch, and cocoa powder in a large bowl and set that aside as well.
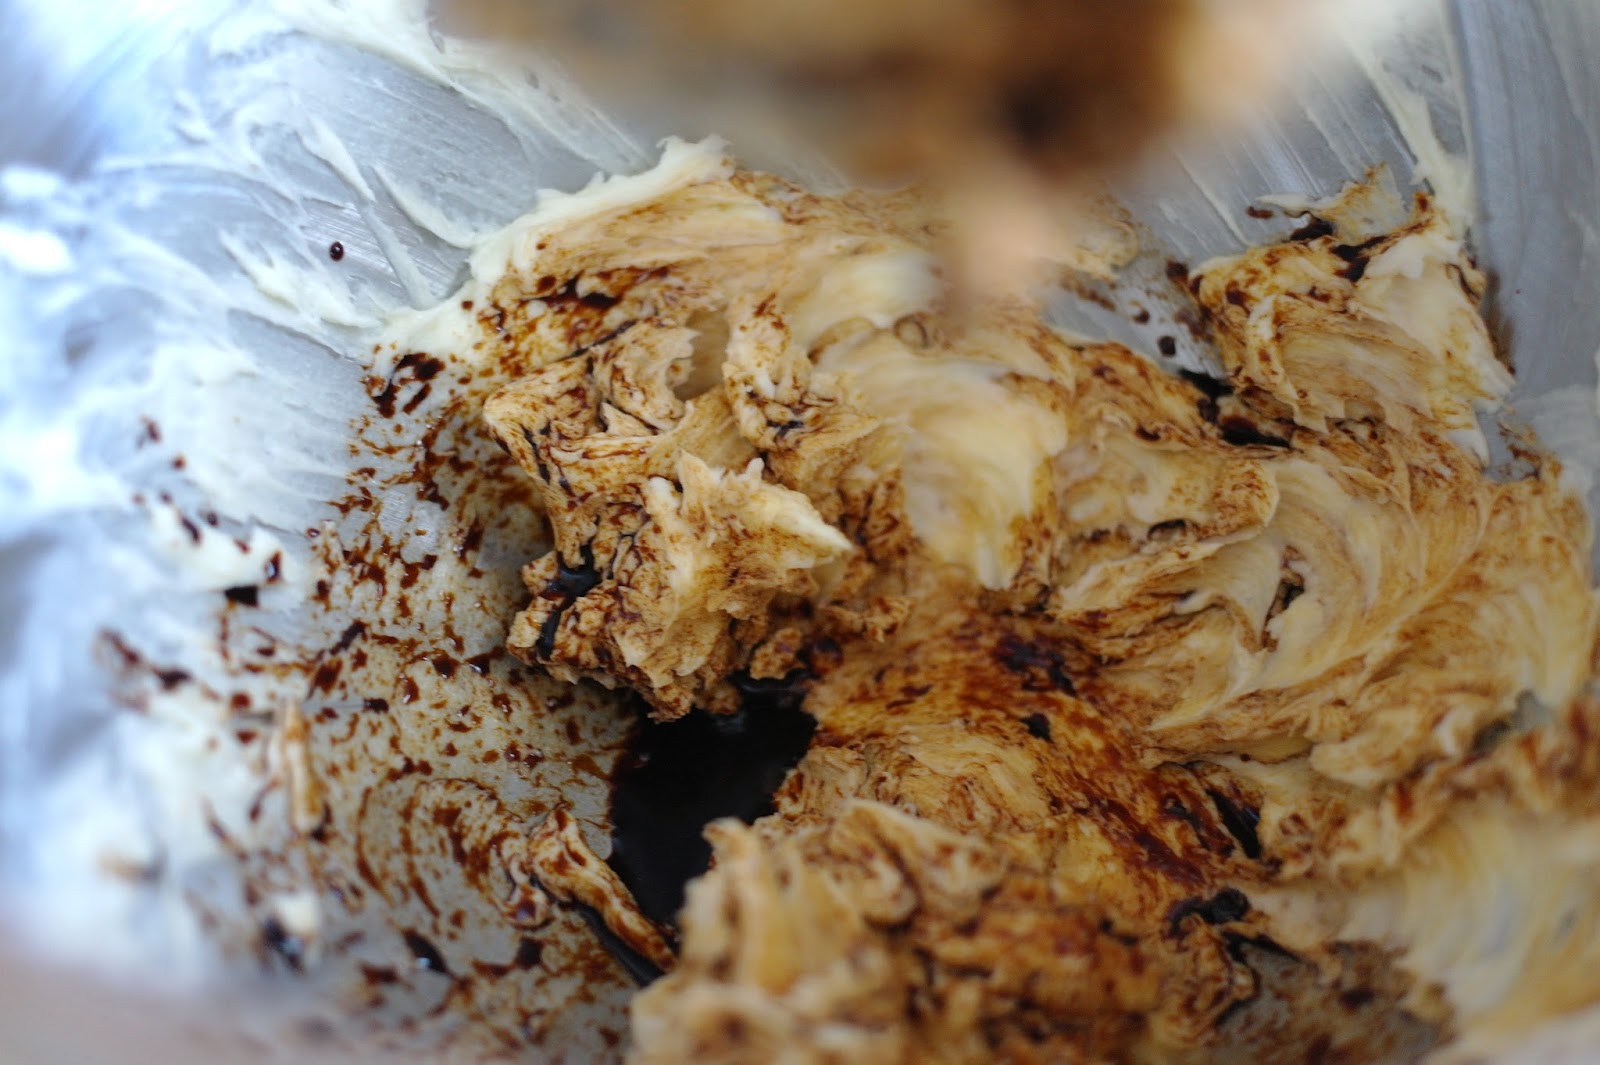
Now cream the softened butter and sugar until light and fluffy. Add in the coffee and mix well.
Once the coffee is mixed in, dump the flour mixture in and stir slowly. You can pick up some speed after a minute. You just don't want flour flying everywhere. The mix should look like chocolate ice cream when done.
Now the original recipe says to put the cookie dough into a piping bag fitted with a plain tip and pipe out swirls. Now I may have the temper of the Incredible Hulk, but I do not have his strength. I think even the big green guy would have difficulty piping out this thick dough. I was fine not having swirly piped cookies and decided to scoop them out instead. I just used a small portion scoop to divide out the dough.
Bake at 375 degrees for 10-12 minutes. And try to ignore the banging in the room.
Let them cool on the pan for a few minutes before you transfer to a cooling rack. Once the cookies are cool, if you like, melt some chocolate and decorate the tops. Throw in the fridge for a few minutes for the chocolate to harden.
I have a feeling these will be really good with some vanilla ice cream tonight. Have a great weekend!
Coffee Cookies - Print Recipe
Sunday, June 3, 2012
Coconut Oat Clusters
My husband has talked about a version of this recipe for years now. It was one of the few desserts he remembered growing up. Luckily, he found this recipe for me in a HomeGoods store the other week. Yes, my husband goes into HomeGoods with me. It's reason # 89 of why I love him.
What you will need
1 cup of rolled oats ( I used quick oats)
1 cup of flaked sweetened coconut
4 ounces of semisweet chocolate
2 tablespoons of butter
2 tablespoons of light corn syrup
3 tablespoons of cocoa powder
First, combine the oats and coconut in a large bowl
Second, in a separate small bowl, melt the chocolate and butter together. Add in the corn syrup and combine
Once everything is combined, start rolling into small one inch balls. The recipe I had said that if the mix was sticky to add more cocoa powder. I didn't seem to have that problem though.
Place the coconut oat clusters on a cookie sheet lined with parchment papers and toss them in the fridge for a few hours. Once they harden, place in a airtight container. The recipe doesn't make much so don't be surprised when they disappear all of a sudden. I'm pointing to you Mr. Baking Pixie.
Coconut Oat Clusters - Print Recipe
Thursday, May 17, 2012
Big Changes
I have been absent for a while now. I have my reasons.
There have been some big changes going on in the Pixie household lately.
WE MOVED!! There....I couldn't hold it in any longer.
Mr. Baking Pixie made it possible to get out of Florida with his new job. We will soon be residents of North Carolina (as soon as I suck it up and take the drivers test at the DMV). Our belongings are slowly getting unpacked and we are starting to explore the area. We miss our favorite pizza place and hate that we have to go to three different grocery stores to get what we need now. But we have family so much closer by and there is a whole new life to explore here.
Thank you for my visiting my page while we are still sorting through things. Hopefully very soon I will have new recipes of deliciousness for you to enjoy.
Loving the weather here,
The Baking Pixie
Thursday, April 5, 2012
Easter Cupcakes
Robins eggs, Oreos, and chocolate...
Can life get any better?
Just thought I would show you two cupcake ideas for this weekend coming up. Both of them use the Whoppers Mini Robins Egg candies.
*Note to self *
Next time, use a darker frosting for these cupcakes. Even with my minor mistake, these cupcakes came together really fast. Just crush up some Oreos and dunk the cupcake into the crumbs to coat the top. I used regular canned frosting to tint green and then piped on some "grass". Last step is to add some eggs to the grass. Now you have some cute cupcakes that look like you are hunting for some delicious Easter eggs in the garden.
The next cupcake requires a potato peeler and a large chunk of chocolate.
I have some bad memories associated with the potato peeler. Don't ask. My blood pressure still goes up with I have to use one. But knowing that it can turn chocolate into little cute shavings makes me happy.
Again, this is a super simple cupcake to make. Just pipe some frosting on the top. And you don't even have to be that pretty about it. Pile the chocolate shavings on. And then drop an egg or two (or three) on top of the chocolate. And voila! Cute little bird nest cupcakes are complete!!
Have a great holiday weekend!
Subscribe to:
Posts (Atom)