Sunday, March 27, 2011

Chocolate Crackle Cookies

Today, I attempted a recipe out of the 500 Cookies, Biscuits, & Bakes cookbook.  My cookies definitely were not as pretty as the ones in the book, but they were mighty scrumptious.


What you will need:
7 ounces of semisweet chocolate, chopped
1/2 cup (or 1 stick) of unsalted butter
1/2 cup of caster sugar
3 eggs
1 teaspoon of vanilla
2 cups of all purpose flour
1/4 cup of unsweetened cocoa powder
1/2 teaspoon of baking powder
pinch of salt
powdered sugar for dipping

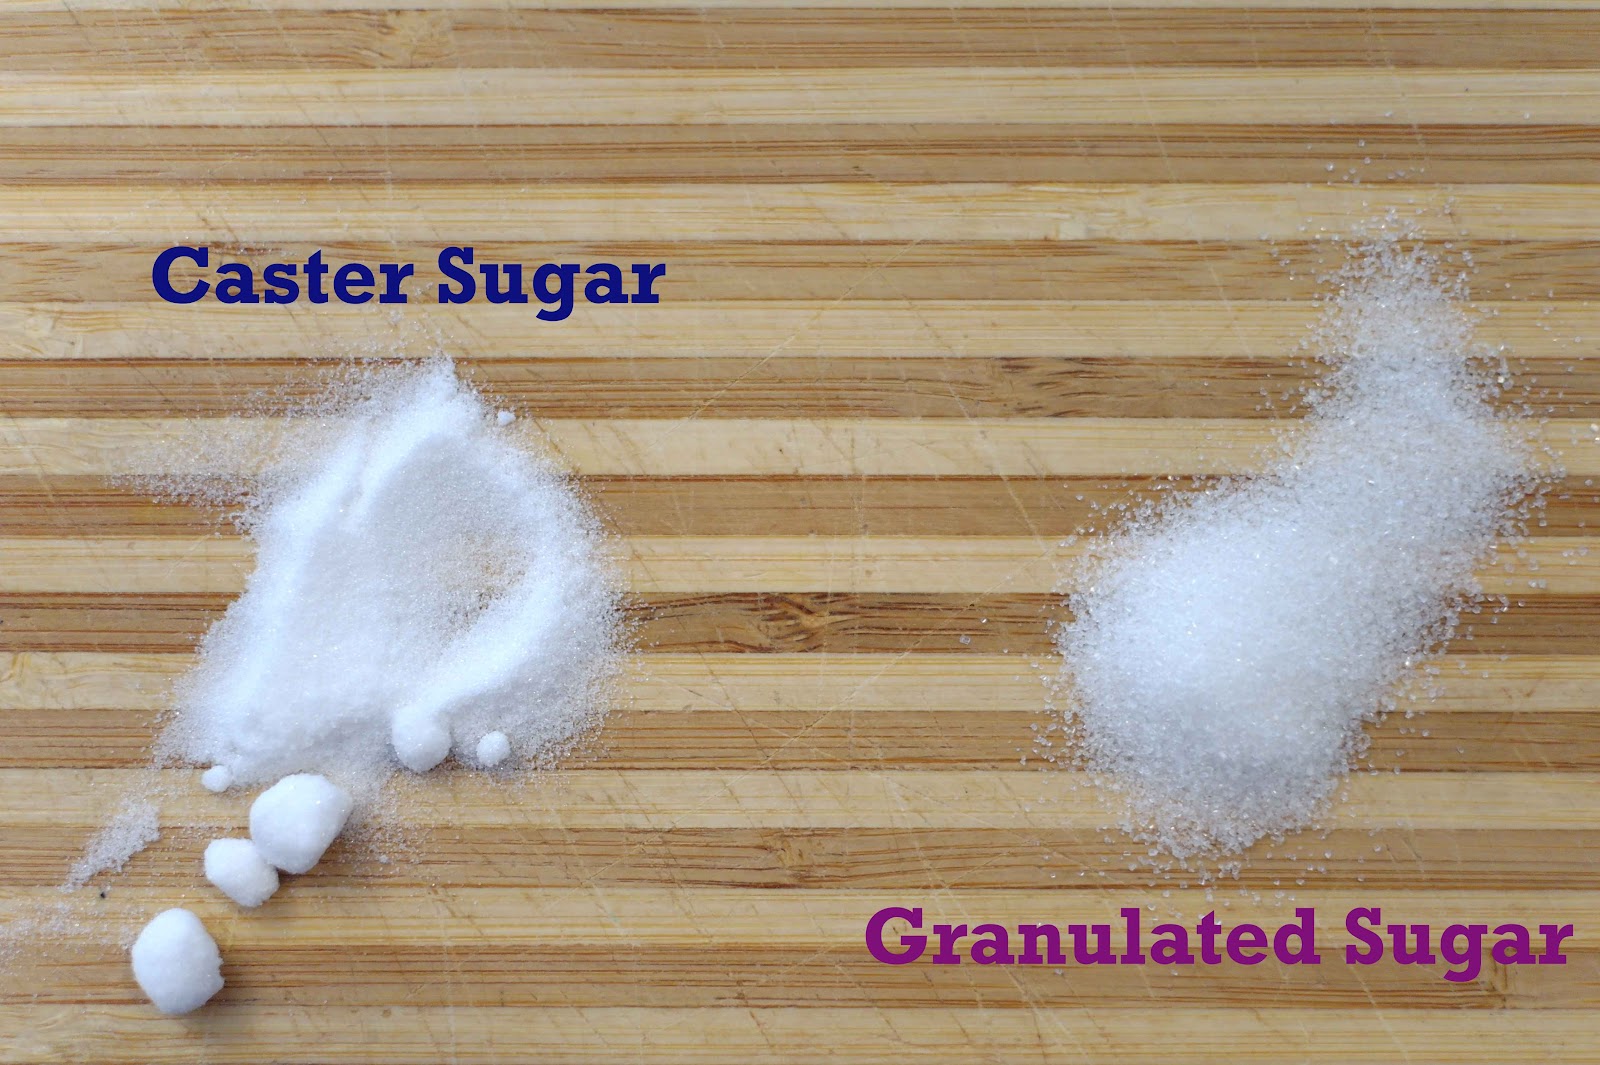
There is a difference between caster and granulated sugar.  According to my The Deluxe Food Lover's Companion book, caster sugar is a more finely granulated sugar but can be used cup for cup for regular granulated table sugar.  In other words, it means you have to go to a specialty store and fork out more money for this type of sugar.  It is usually found in meringue recipes because it's ability to dissolve extremely fast.

Oh....just a side note here.  If you know anyone who likes to cook or bake, look at The Food Lover's Companion book as a gift.  They have both paperback and hardback editions and the book is AMAZING.  It's a dictionary describing different foods and culinary techniques.  I seriously spent 4 hours on a plane ride reading this book one time.  

Back to the recipe!   

Sift the flour, cocoa powder, baking powder, and salt together.  Set the bowl aside.


The next step is to melt the chopped chocolate and butter in a saucepan.  


Once the chocolate is melted, stir in the caster sugar.  Continuing stirring until the sugar is dissolved. Next, add your eggs in one at a time making sure they are incorporated each time.  Now pour in your vanilla and stir.  I apologize that there is a lack of photos at this point.  It's a little hard to handle a camera, pour ingredients, and stir.  I asked my husband for help, but he managed to get more of my expanding belly in the shots than the actual food. And since we are dealing with cookies and not pregnant bellies here, I decided against using the photos.

Now add your flour mixture to your melted chocolate in three stages stirring well in between each one. 


You will end up with a very thick dough that you will cover and refrigerate for 1 to 2 hours.  


Once the dough is chilled, roll into 1 inch balls.  Roll each cookie ball in powdered sugar and place on a cookie sheet.  I ended up flattening out my cookies just a bit before I baked them.  Bake the cookies at 325 degrees for 12 to 15 minutes.  Let them cool on the cookie sheet for a couple of minutes and then transfer to a cooling rack.  The tops should be a little hard but the inside is still soft when you bite into it.  And there you have it......chocolate crackle cookies.  


Monday, March 14, 2011

Lime Cool Whip Frosting

Yesterday I mentioned the lime cool whip frosting that pairs perfectly with the coconut cake I made. The frosting is really easy to make and I am pretty sure it is good on other types of cakes too!  


What you will need:
1 cup butter, softened
1 teaspoon lime zest
1/4 cup fresh lime juice
5 cups of powdered sugar
1 8oz container of cool whip

Of course, this wouldn't be a Paula Deen recipe without the BUTTER!  Chop up your butter to help it soften a little quicker.


Zest your lime. 


Squeeeeeeze the limes.


Now combine your butter, zest, and lime juice in a bowl and mix well with a mixer.


Slowly add in your powdered sugar and mix till smooth.  Last step is to add the cool whip and combine.


The icing is a little sticky and doesn't hold shape really well.  So if you want to pipe the frosting onto a cupcake, you might be a little disappointed.  Instead, go for something simple and pile shaved coconut on top of the icing.  Super cute and enjoyed by all.

Lime Cool Whip Frosting - Print Recipe

Sunday, March 13, 2011

Coconut Cake


I am going to start this post by saying I hate coconut.  Yes, you read that right.  I always feel like I am chewing on suntan lotion when I have anything with coconut.  That being said...my husband LOVES coconut.  And since he has been tenderly dealing with my emotional, crying, stubborn, emotional, still slightly nauseous pregnant self, I made him this cake.

And I have to admit, I kind of like it myself.  Without the coconut shavings.....blech.....still tasting Hawaiian Tropic here.

This recipe was staring me down when I received my Paula Deen magazine in the mail this past week.

What you will need:
1 1/2 cups of unsalted butter, softened
2 cups granulated sugar
5 large eggs, separated
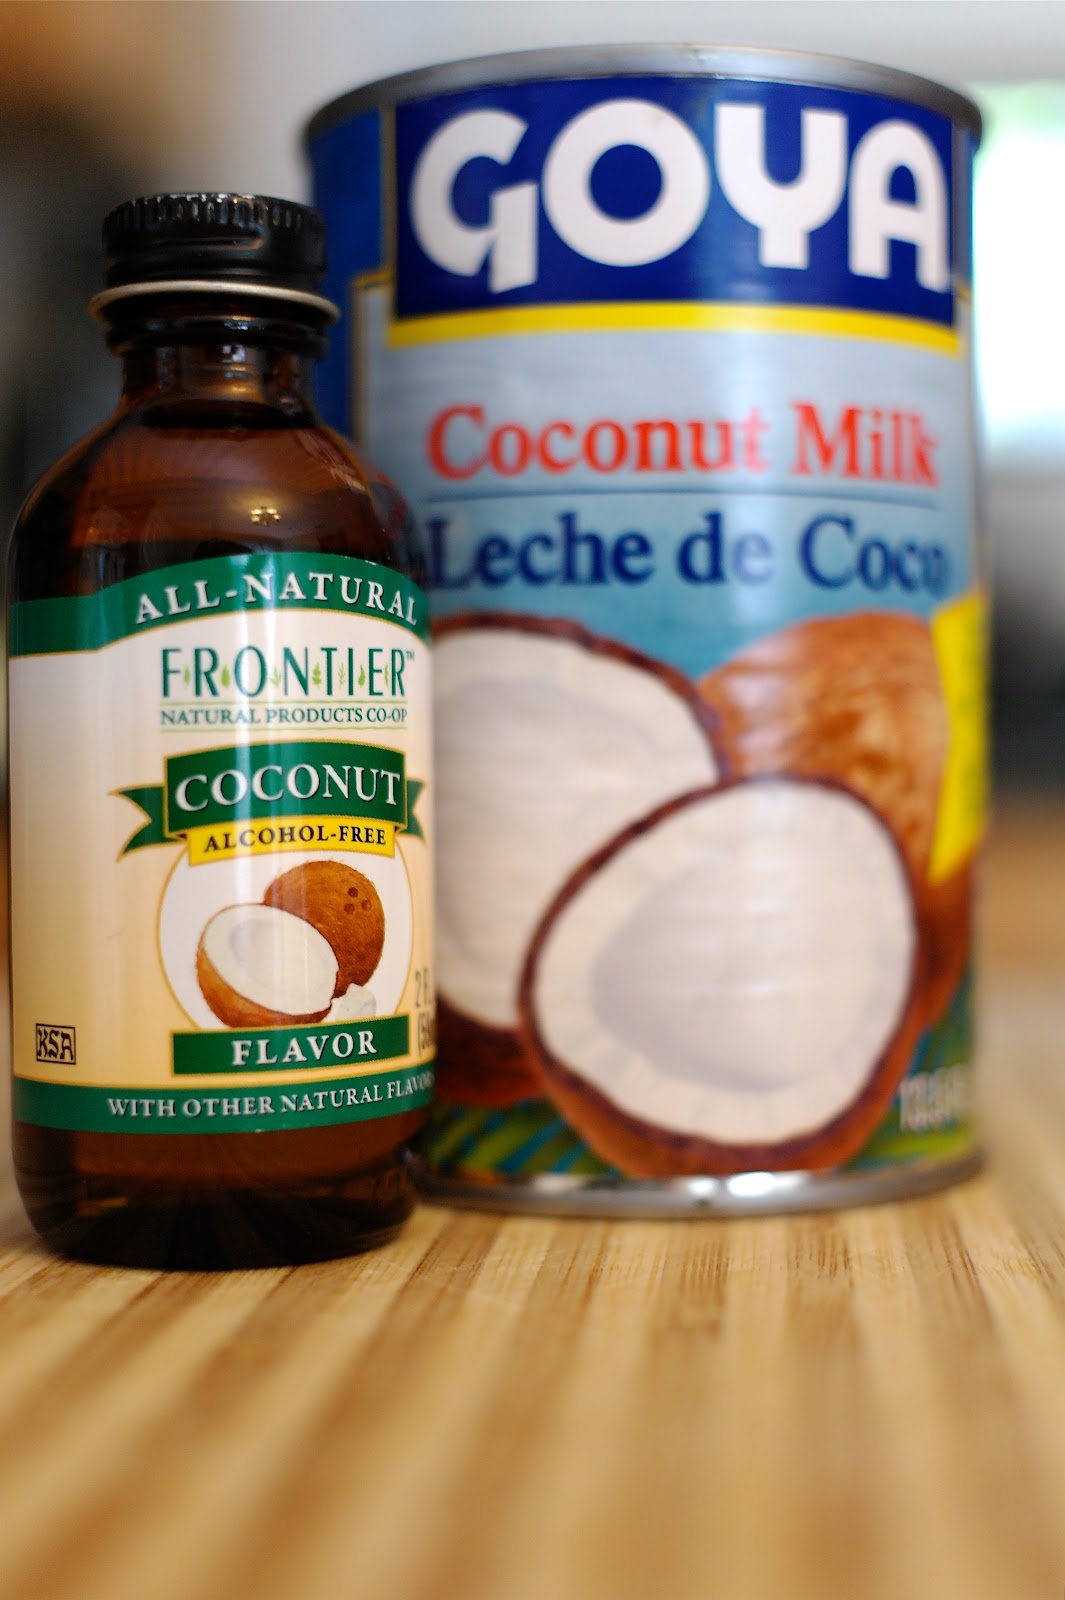
1 teaspoon of coconut extract
1 teaspoon of vanilla extract
3 1/2 cups of all purpose flour
1 teaspoon of baking powder
1/2 teaspoon baking soda
1/2 teaspoon salt
1 1/4 cups of coconut milk
1 cup buttermilk


I was only able to find coconut flavoring.  So if you do find an extract, your cake will have a stronger coconut flavor than mine.   But I am pretty sure it is still going to be super yummy.

The first step is to read this recipe all the way through.  I could have saved myself a TON of dishes if I would have done that.  A lot of the ingredients can be measured out and thrown together in a big bowl.  You can do this with the flour, baking powder, baking soda, and salt.  Measure it out and throw it in a bowl together.  Just make sure you stir really well and set aside.


Next, measure out your buttermilk and your coconut milk.  Combine them in one bowl and set aside.


Now you are going to beat the softened butter and sugar together in a mixer until incorporated.  Add in the egg yolks and extracts.


Now take your two bowls, your dry and wet ingredients, and add them to the butter mixture.  Start by adding a third of the flour mixture and let it incorporate a little.  Then add in some of the milk. Let it combine just a little.  Now back to the flour...and so on until you have both bowls emptied.


Using another clean bowl, whip the egg whites until they form stiff peaks.  Fold the egg whites into the cake batter.  This helps makes it a little lighter and fluffier.


The magazine suggests pouring the batter into three greased 9" round pans.  If you have three 9" round pans, I envy you for your supplies and more importantly your storage space.  I poured my batter into a greased 8" round pan (with 3" high sides) and sliced it into layers later.  Bake at 350 degrees.  If you have the three pans like suggested, the magazine says to bake for about 20 minutes. Mine took about 50 minutes to bake.  Let cool on a rack when done baking.

Check back tomorrow for the lime cool whip frosting recipe that is deliciously paired with the coconut cake.

Coconut Cake - Print Recipe

Saturday, March 5, 2011

Blondies

This is another recipe courtesy of Momma Pixie.  She has been telling me for weeks now to make these.  And now that I have, I wonder what I was so preoccupied with that I didn't make them sooner than today.  This recipe is from a Gooseberry Patch cookbook.


What you will need:
1 cup or 2 sticks of butter, melted
2 cups of brown sugar, packed
2 eggs, beaten
2 teaspoons of vanilla extract
2 cups all purpose flour
1/2 teaspoon baking powder
1/4 teaspoon of salt
1 cup of chopped pecans (I only had walnuts in my cabinet...so feel free to improvise)
1 cup of white chocolate chips
3/4 cup of toffee or caramel baking chips

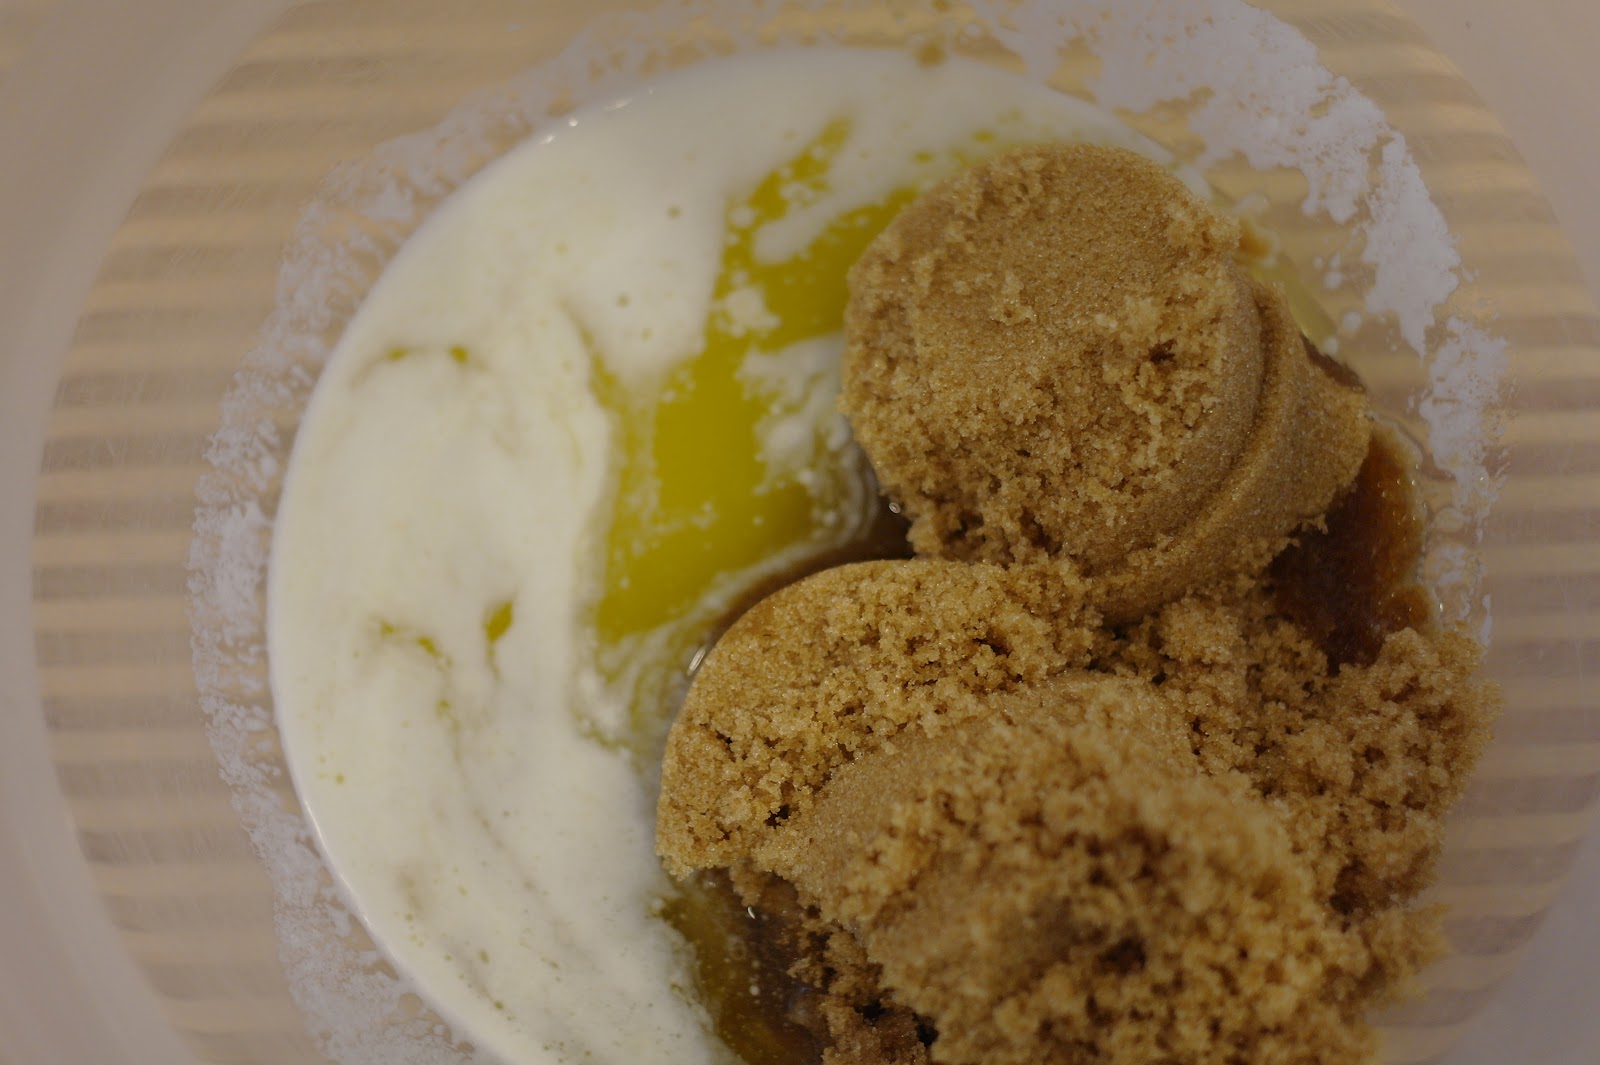
In a large bowl, mix together your melted butter and brown sugar.


Next, add in the beaten egg and vanilla.  Make sure your butter has cooled because you do not want to start cooking the egg and then you have little gross egg bits floating around.  Eww.


Now that is mixed together, add in the flour, baking powder, and salt.  Stir until everything is incorporated.


Final step is to add the chopped nuts, white chocolate chips, and toffee bits.


I am pretty sure there is a magical culinary formula out there that determines the proportion of batter to baking accessories......and this recipe totally doesn't care.

Pour the batter into a well greased 13x9 baking pan and bake for 25 to 30 minutes.


Let cool in the pan before you start cutting into them.  Top with vanilla ice cream and you have yourself a very easy dessert that everyone will love.  

Tuesday, March 1, 2011

My First Giveaway!

UPDATE:  Congratulations to Miriah for her comment.  
An adorable apron is on the way

**********************************************************************************

Why am I doing a giveaway?  Well...because I have been a bad blogger and have neglected you guys of sugary sweet recipes in the last two months.

Why have I been so slow on blogging?

Because this little guy (or girl) doesn't care much for sweets.  Or chocolate.  Or strawberries for that matter.


So now it is someone's chance to win this super cute apron that I found at Anthropologie.


I love that store.  If only I were a size 2 and could pull off the whole retro vibe.  But now is your chance to get a piece of that cute retro apparel.  All you have to do is leave a comment about what is your favorite item in the kitchen.  Something like "My life completely changed when I got my KitchenAid Mixer!"   What?  I am being serious here.  Do you know how awesome that thing is??

So leave a comment below and the winner will be announced soon!!!

Monday, February 14, 2011

Valentine's Day

So I know this is getting a little late, but I promised I would show you what I did with my marshmallow fondant.

Ta-da!


The bear was pretty simple to make.  You just have to have an imagination when it comes to forming the little guy.

The first step is to tint your marshmallow fondant the colors you want.  I used AmeriColor food coloring in Chocolate Brown and Super Black.  It provides a really nice intense color to your fondant and gumpaste.


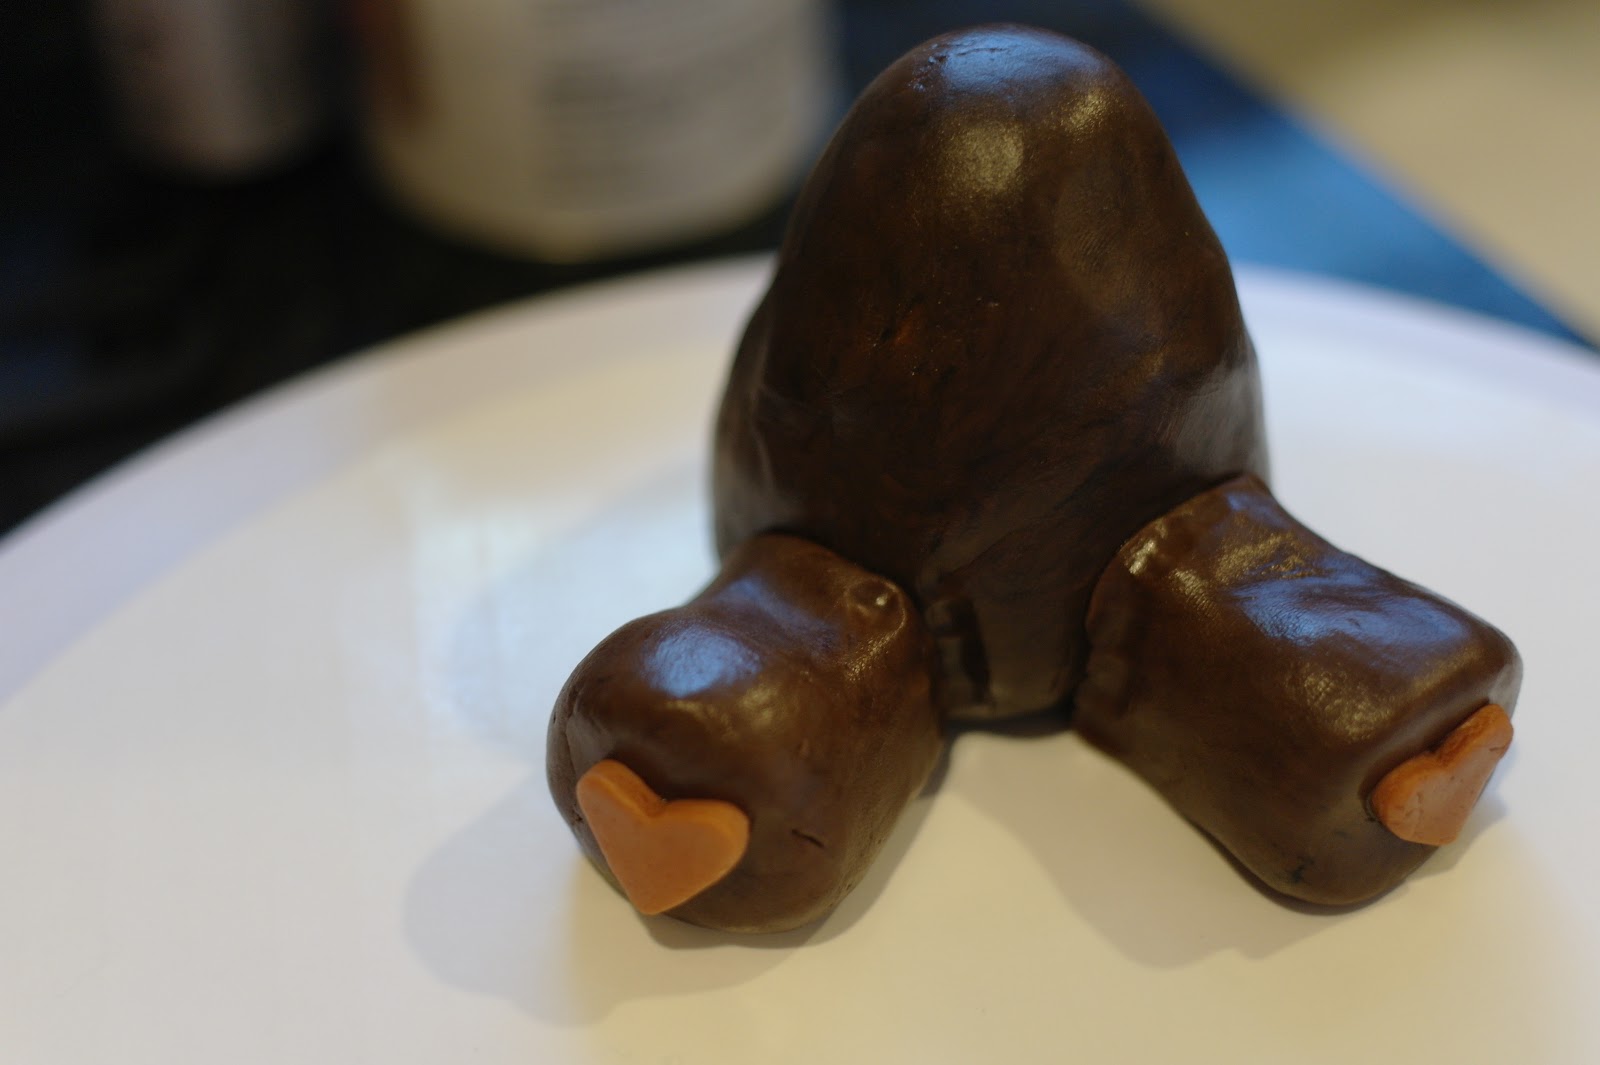
After you tint your fondant, let it sit in the fridge overnight.  When you are ready to start playing, knead the fondant until it is pliable again.  Start with the body.  I know it looks like a blob.....just IMAGINE okay?


Next, add some legs.  And paws!


Next stop is the head.  Make a round ball and flatten part of the top to make the area for the eyes. This will help you place the nose later on as well.


Add some ears...
The ears should stick to the head.  But if you are having some problems, dab a little water where you want to stick them.  This will help keep them in place.


Make a BIG heart.  I used a cookie cutter for this part.


Then you can add your arms.  Toothpicks come in handy at this point to attach the arms to the heart. Then you can smooth over the little holes by rubbing over the fondant.  Or you can prop up the arms with miscellaneous objects until they dry and set.

 I also added a little nose and carved out a little mouth here too.  Almost done!


Add some eyes....and voila!  Just store him in the fridge until needed.


I think I see a big green shamrock in his future.  What do you think?

Sunday, February 6, 2011

Marshmallow Fondant

So it has been a while since I posted.  I apologize.  I have spent all week trying to thaw out from the negative temperatures and mountains of snow I had to deal with in Boston last week.  My poor weak Florida blood just couldn't take it.

But now that I am back.....let's bring on the fun.

Today I made marshmallow fondant.  The first reason why is because store bought fondant is expensive and tastes funny.  The second reason why is because it gave me an excuse to eat marshmallows by the handful.   Sometimes it's the little things that make me happy.


You will only need a few items.

1 package of mini marshmallows (16 ounces)
2 pounds (about 8 cups) of powdered sugar
2 - 5 Tablespoons of water
vegetable shortening
food coloring is desired

Pour the marshmallows in a microwave safe bowl and add about 2 Tablespoons of water.


Throw the bowl in the microwave for 30 seconds.  Stir the marshmallows.  You need for the marshmallows to be smooth, so you might have to throw them back in the microwave again.  Just keep the time to 30 second intervals and you should be fine.

Once the marshmallows are smooth, add about 3/4 of the powdered sugar to the bowl.  Fold the sugar in.

Now to incorporate the rest of the sugar, you will knead the fondant while sprinkling in the sugar. You can do this by using the tried and true method of tossing it on the counter and kneading it like bread dough or you can cheat and use your handy dandy stand mixer.  I cheated.  I'm not afraid to admit it.  With either method you choose, this is where the vegetable shortening comes in handy. Spread it on the counter where you are going to knead the fondant or line your bowl and dough hook with it.  It just helps keep the fondant from sticking everywhere.


If your dough is too crumbly, add a little more water and continue kneading.  If it is too wet, you can add a little more powdered sugar.  But you want a texture that is nice and smooth when finished.  If you want to add color to the entire batch, you can do so during the kneading process.  Or you can break off small pieces and add color later if you want more options.

Once it is mixed, wrap in plastic wrap and store in the fridge overnight.


When ready to use, bring the fondant to room temperature.  Roll out to desired thickness and cut out shapes or letters for decorations.  Stay tuned for my plans for my pink marshmallow fondant!

Marshmallow Fondant - Print Recipe